
Written by Ayush Yajaman, March 21st, 2025
If you’re using any kind of forms on your WordPress website, ensuring that emails are reliably sent and received is crucial. Many users face issues with emails landing in spam or not being delivered at all. This guide will walk you through configuring WPForms, WP Mail SMTP, Brevo, and CRM Entries to ensure your contact form emails are properly sent and stored.

Step 1: Installing and Configuring WPForms
- Install WPForms
- Navigate to your WordPress Dashboard.
- Go to Plugins > Add New and search for WPForms.
- Install and activate the WPForms plugin.

2. Create a Contact Form
- Open WPForms from your dashboard.
- Click Add New and select a form template that suits your needs.
- Customize the form fields as required.

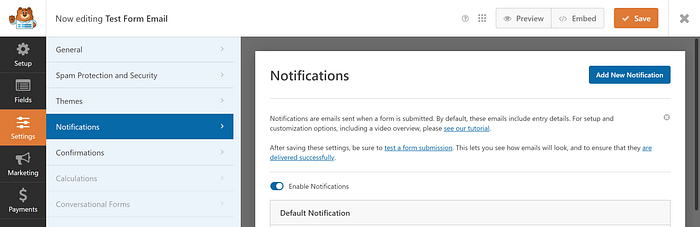
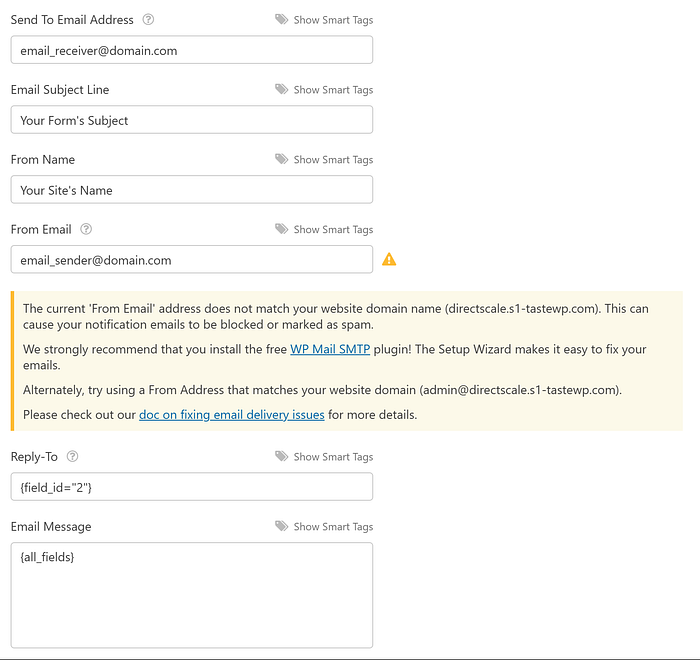
3. Configure Notifications
- In the WPForms Builder, go to Settings > Notifications.
- Set up the fields using the tooltip guidance and the image (3b) below.
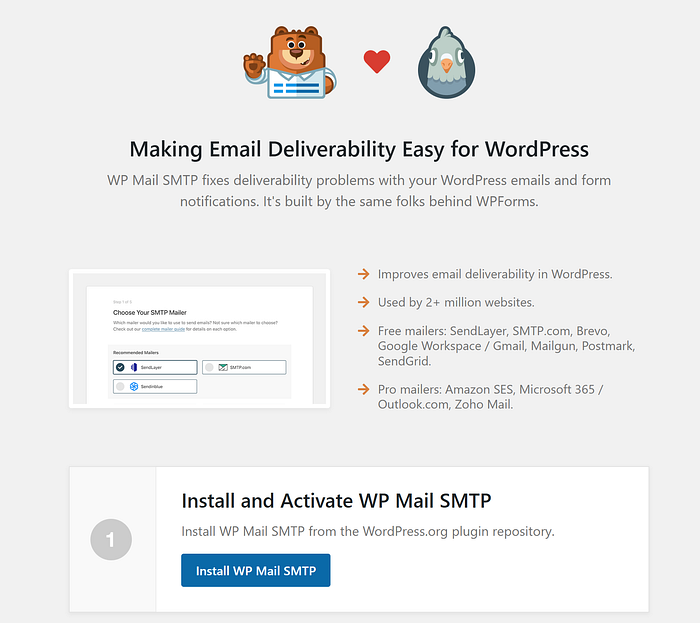
Step 2: Setting Up WP Mail SMTP for Reliable Email Delivery
- Install and Activate WP Mail SMTP
- If you see a yellow caution message in WPForms about mail delivery, click on the WP Mail SMTP link. If you don’t, you can skip to Step 5.
- Install and Activate WP Mail SMTP
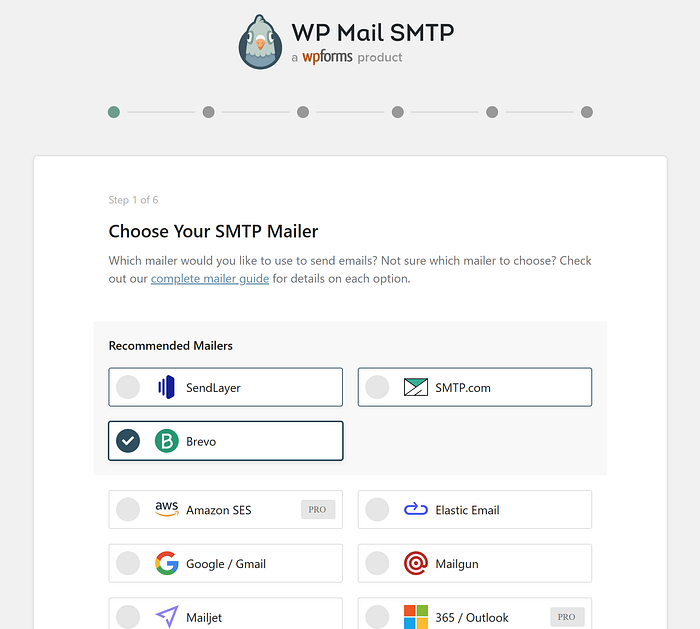
2. Run the Setup Wizard
- Click Setup Wizard and choose Brevo as your mailer.
Step 3: Setting Up Brevo for Email Sending
- Create a Brevo Account
- Go to Brevo’s sign-up page.
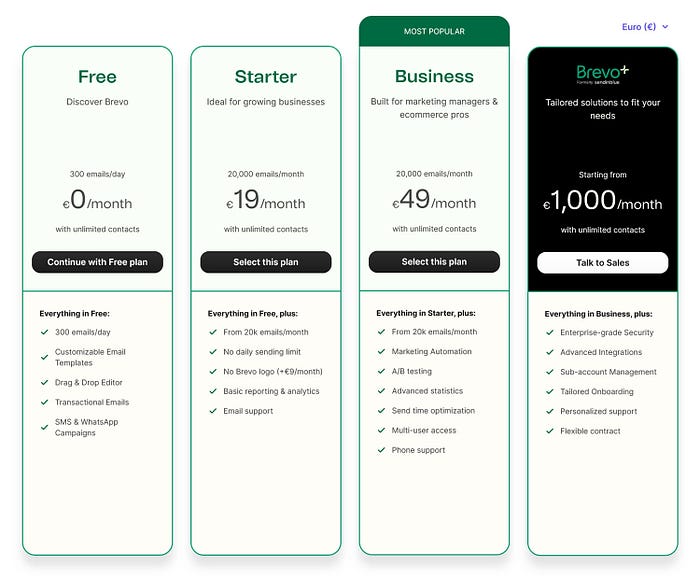
- Follow the registration steps and select Continue with the Free Plan.
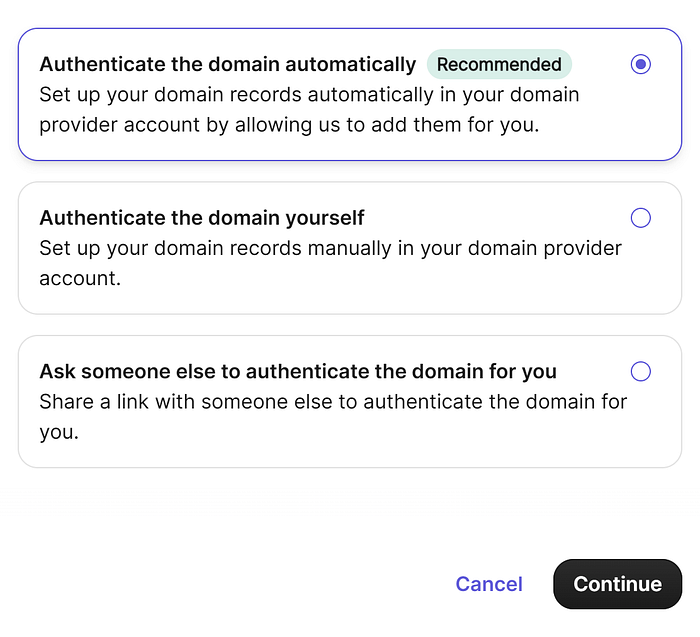
2. Authenticate Your Domain
- Open Brevo’s sender settings.
- Add your email’s domain name (example.com) and follow the recommended instructions to authenticate it. This step prevents emails from going to spam.

3. Generate an API Key
- Go to Brevo’s API settings.
- Generate an API key and store it securely.

Step 4: Configuring WP Mail SMTP with Brevo
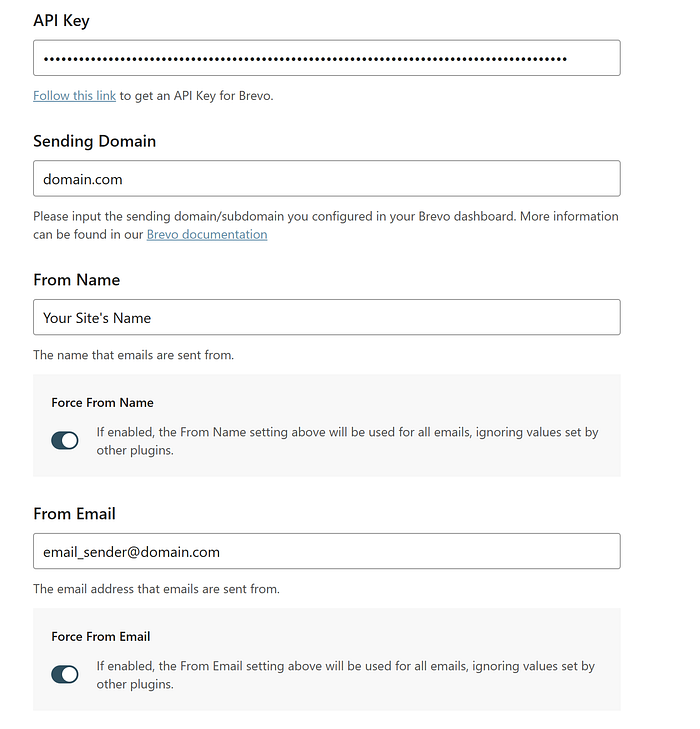
- Enter Brevo API Key in WP Mail SMTP
- Go back to WP Mail SMTP Setup Wizard.
- Paste the Brevo API Key into the appropriate field.
- Add your sending domain (the one you authenticated in Brevo).
- Configure the From Name and From Email. You may choose to force the From Email to ensure all emails come from the same address.
2. Finish the Setup Wizard
- Complete the remaining steps and finalise the setup.
3. Test Email Delivery
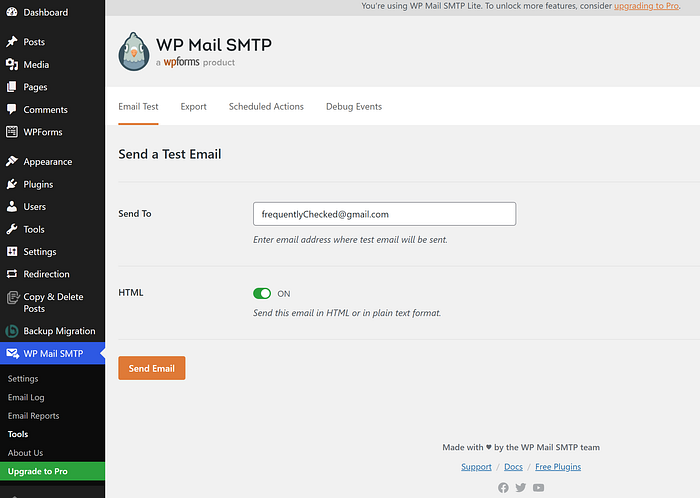
- Navigate to WP Mail SMTP > Tools > Email Test.
- Send a test email to verify that it successfully lands in your inbox instead of spam.
Step 5: Embedding WPForms on Your Website
- Save Your WPForms Contact Form
- Click Save in the WPForms builder.
2. Embed the Form
- Use the WPForms block in the WordPress editor. Alternatively, copy the shortcode and paste it into a page or widget.
3. Publish Your Website
- Ensure all changes are live.
4. Test Form Submission
- Visit your website and fill out the contact form.
- Confirm that the email is received correctly.
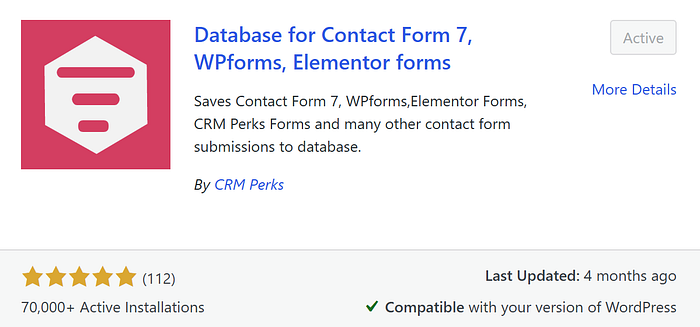
Step 6: Storing Contact Form Submissions with CRM Entries
- Install CRM Entries
- Go to Plugins > Add New.
- Search for CRM Entries.
- Install and activate the plugin.
2. View and Manage Submissions
- Open CRM Entries from your WordPress dashboard.
- Ensure that form submissions are being stored properly.

Aaaand, you’re done!
Setting up WPForms with Brevo, WP Mail SMTP, and CRM Entries ensures that your contact form submissions are reliably delivered and properly stored. By authenticating your domain, using a dedicated mailer (Brevo), and configuring WP Mail SMTP correctly, you can prevent emails from going to spam and improve communication with your users.
Following these steps will help you avoid common pitfalls and create a seamless workflow for handling form submissions.
Leave a Reply